Marketplace Storefront Development Guide
In the article on how to create an NFT marketplace on Solana, we learned the different steps you'd need in order to successfully create an NFT marketplace using the Mirror World Smart SDK.
In this guide, we're going to take it a step further and learn how to create an NFT marketplace storefront on Solana using the Mirror World Smart SDK. Let's get into it
What is a Storefront
An NFT marketplace storefront serves as a user interface for your users to buy and sell NFTs on your marketplace. A marketplace can exist without a storefront but a storefront can't exist without a marketplace.
It is only after creating a marketplace that you'll be ready to create a storefront.
1. Clone Storefront UI Template Repository
Mirror World provides a UI template that you can easily clone to set up your storefront.
Run the following command in your terminal to get started:
git clone [email protected]:mirrorworld-universe/marketplace-storefront.git
2. Install dependencies
After cloning the template, you can now install all its dependencies. You'll be required to choose the version of the SDK you want to install. You should choose the latest version which will be the first option.
#run these to install dependenciesyarn install#ornpm install
3. Setup storefront userConfig.json variables.
You'll need to edit the userConfig.json file that exists in the root of your
project folder. The userConfig.json file basically provides more information
about your storefront.
Download your userConfig.json from your project's marketplace on
the developer dashboard. It should look
something like the example below:
{ // Array of collection addresses "collections": ["COLLECTION_ADDRESS"], // API Key "xApiKey": "YOUR_UNIQUE_API_KEY", // Marketplace commission fee in percentage "serviceFee": 4.25, // Marketplace storefront currency "currencyOption": "SOL", // Storefront name "name": "MY_AWESOME_STOREFRONT", // Storefront Logo URL "logo": "", // Storefront Network "network": "mainnet"}
4. Run dev server
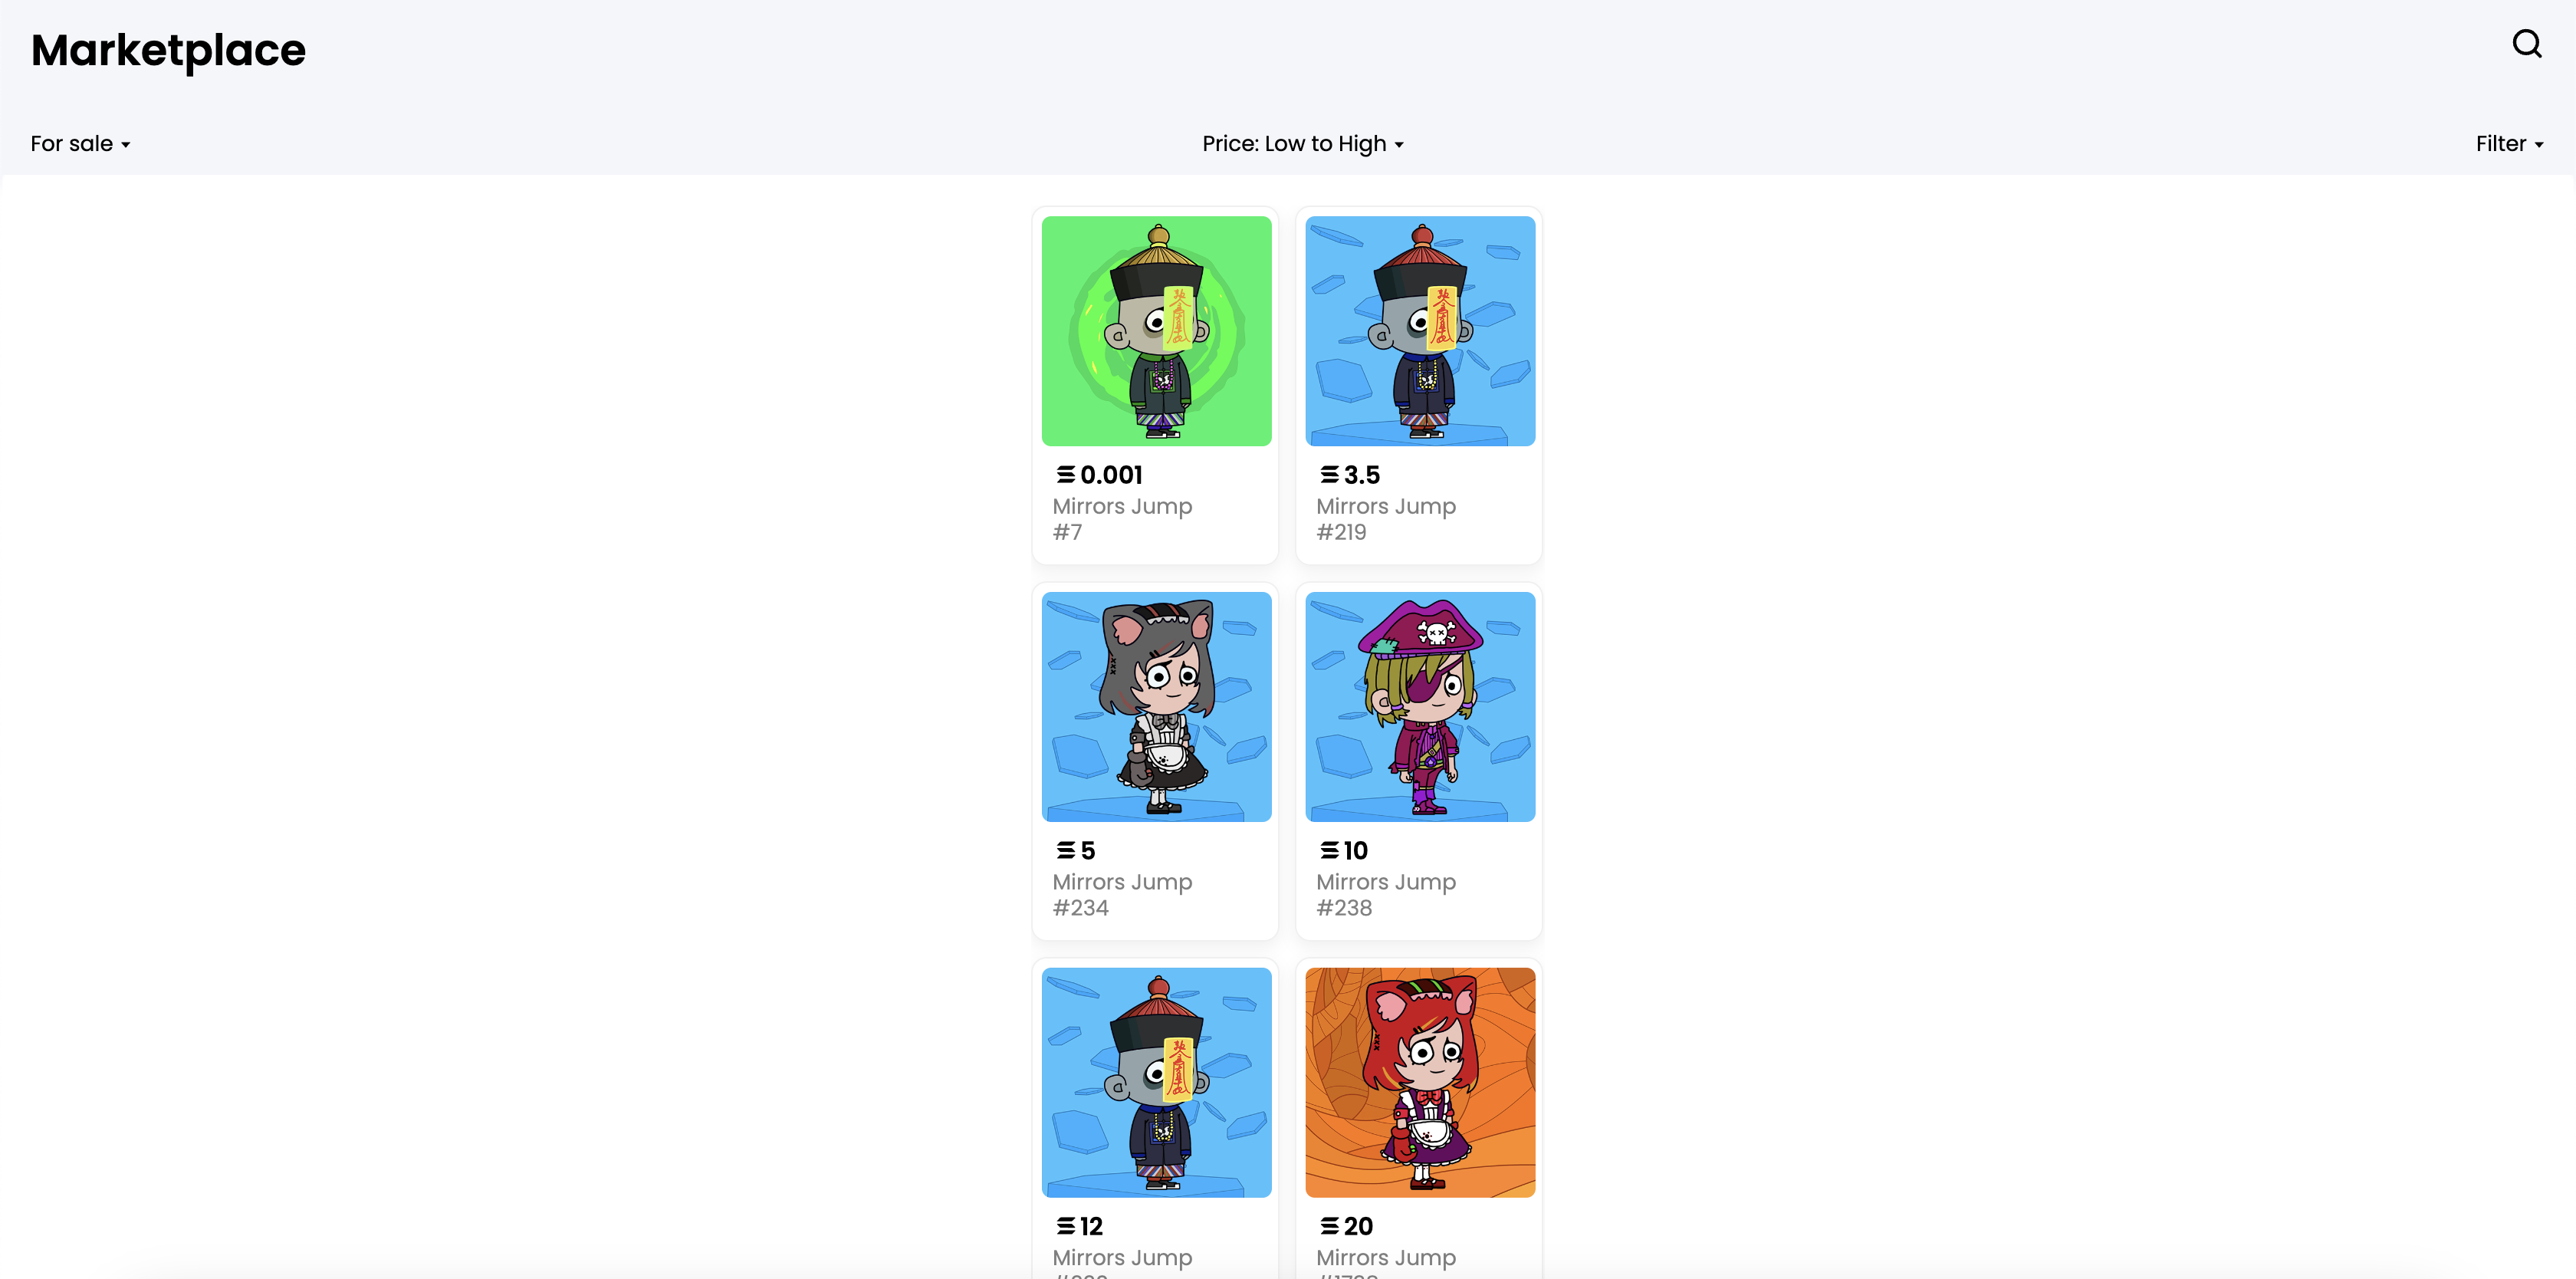
You can now run your development server to view your storefront! Run yarn dev
and open the browser on http://localhost:3000 to preview your storefront.
5. Show the World!
Congrats! You successfully created a marketplace storefront. You may go ahead and deploy your application using Vercel, Netlify or Cloudflare Pages.
Conclusion
Thanks to the MIrror World Smart SDK, creating marketplace storefronts to sell your digital collectibles is really simple and straightforward. To reiterate, you'll only be able to create a storefront after you've created a marketplace, as your storefront is basically a user interface for your marketplace. It is expected that you have read the guide on how to create an NFT marketplace before this one.
Let's summarize all the steps needed to successfully create a marketplace storefront:
- Set up a Mirror World developer account in order to use all the best features of the Mirror World Smart SDK.
- Fund your Wallet. A small token will be required to create your marketplace. You can airdrop SOL into your wallet on solfaucet.com
- Create a collection for your NFTs on Mirror World.
- Set up your marketplace through the developer dashboard.
- Clone storefront UI template repository.
- Install the required dependencies.
- Set up the
userConfig.jsonwith the appropriate variables. - Run development server to preview your site.
- Deploy your application using Vercel, Netlify or Cloudflare Pages.
Edit this page on GitHub